Getting Started
To start working with the nv.design module, you need to log in to the system. For details, see Logging In.
After logging in, you can create, import, or open a project (well design). For details, see Creating Projects, Importing Projects and Opening Projects.
For each project, you can select a default or configure a custom unit measurement system. For details, see Unit Selection.
All projects comprise multiple sections with the well and equipment parameters. For details, see Well Design Parameters.
When the project configuration is completed, you can generate a summary and detailed reports. For details, see Reports.
3.1 Logging In
To access newvision, perform the following actions:
In your web browser, enter the system URL.
The login window appears.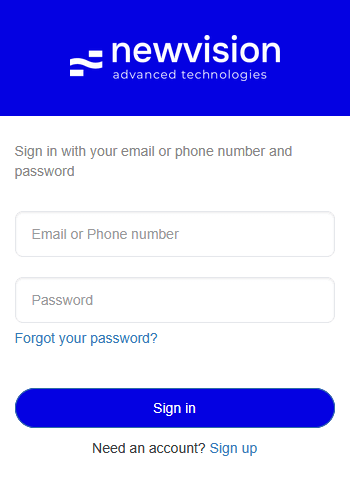
In the login window, enter your email or phone number and password.

Note
If you were not provided with the account credentials, contact your system administrator.Click Sign in.
If the entered credentials are valid, the system home page opens. For details, see Home Page.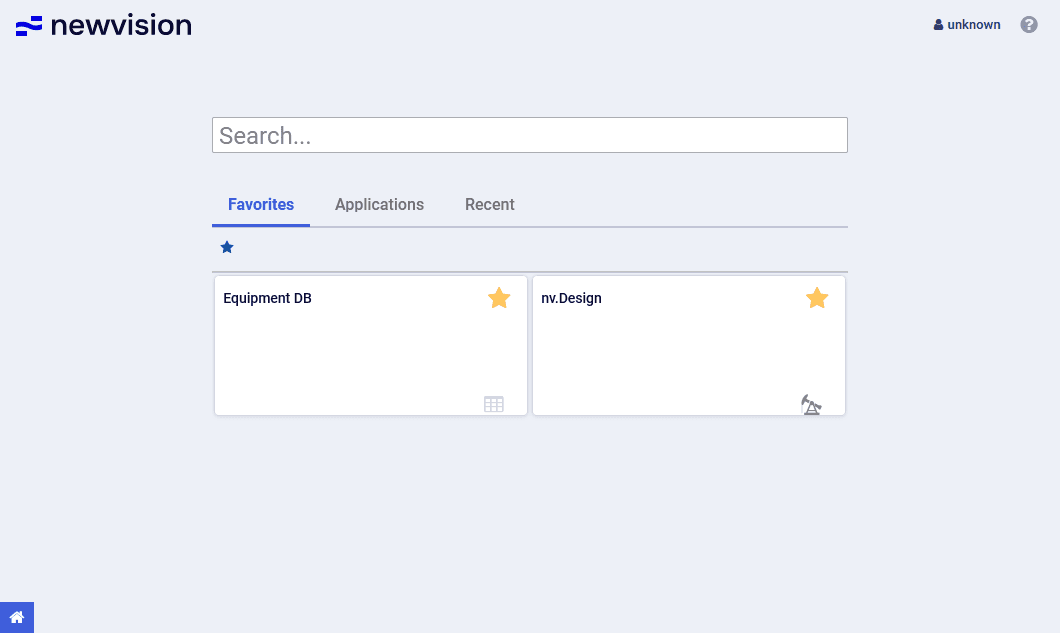
3.2 Creating Projects
In the nv.design module, you can create a new project in several ways, depending on your current stage in the module workflow:
The created project opens with a default case (well design scenario) created automatically.
For details on creating cases, see Adding Cases.
3.2.1 Creating New Project Upon Opening nv.design
To create a project upon opening the nv.design module, perform the following actions:
- Open the nv.design module.
For details on navigation in the system, see System Interface. Depending on whether there are any projects in the system, perform one of the following actions:
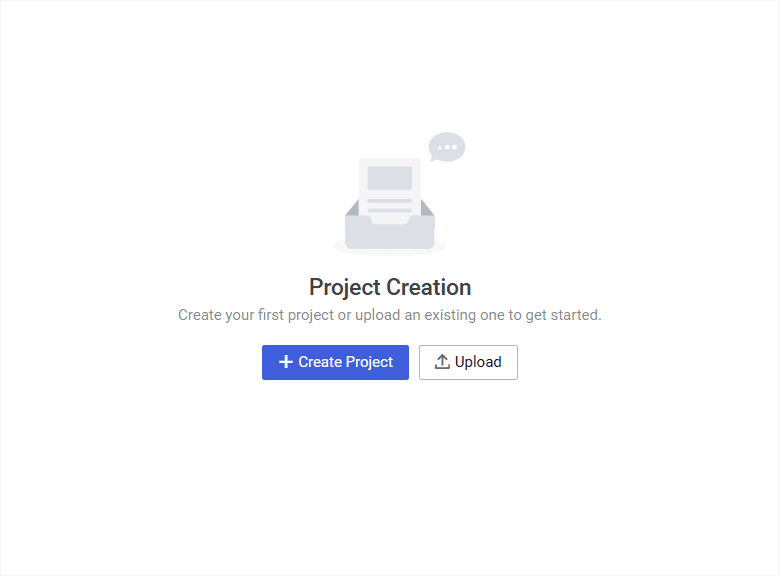
If there are no projects, in the Project Creation window, click Create Project (
 ).
).
If there already are some projects, in the upper-right corner of the Projects window,
click Add ().
Important
This method is relevant only if you open the module for the first time or after clearing the browser cache. Otherwise, when you open the module, the last project you worked on will open automatically. In this case, see Creating New Project While Working on an Existing Project .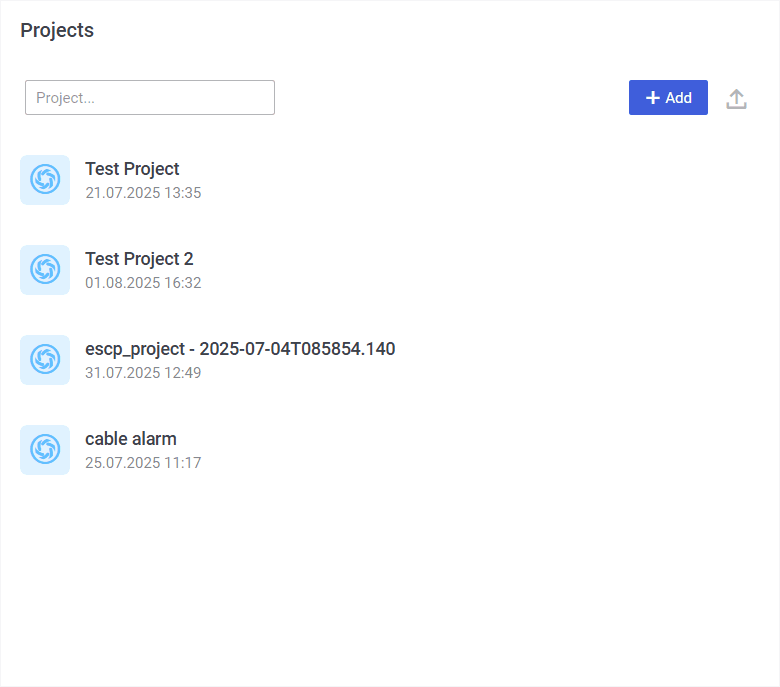
The New project window opens.
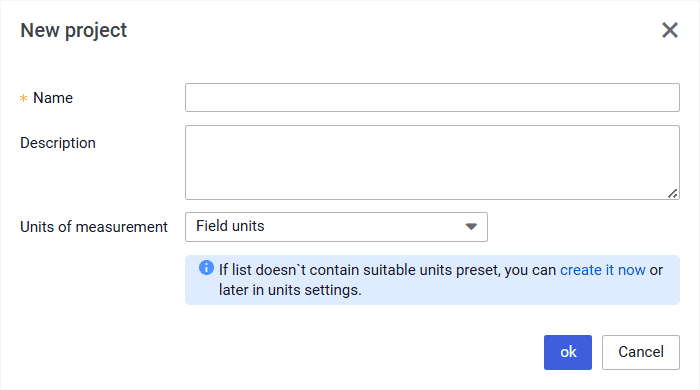
In the New project window, perform the following actions:
a. In the Name field, enter the new project name.
b. (Optional) In the Description field, enter a description for the new project.
c. From the Units of measurement list, select the desired measurement system: Field units (US oilfield units) or SI units (metric units).

Note
You can also create a custom set of measurement units. To do this, in the area below the list, click create it now. You can do this after the project is created as well. For details, see Configuring Custom Set of Units.d. In the lower part of the window, click ok.
3.2.2 Creating New Project While Working on an Existing Project
To create a project while working on an existing nv.design project, perform the following actions:
In the upper-left corner of the module, click the name of the currently open project.
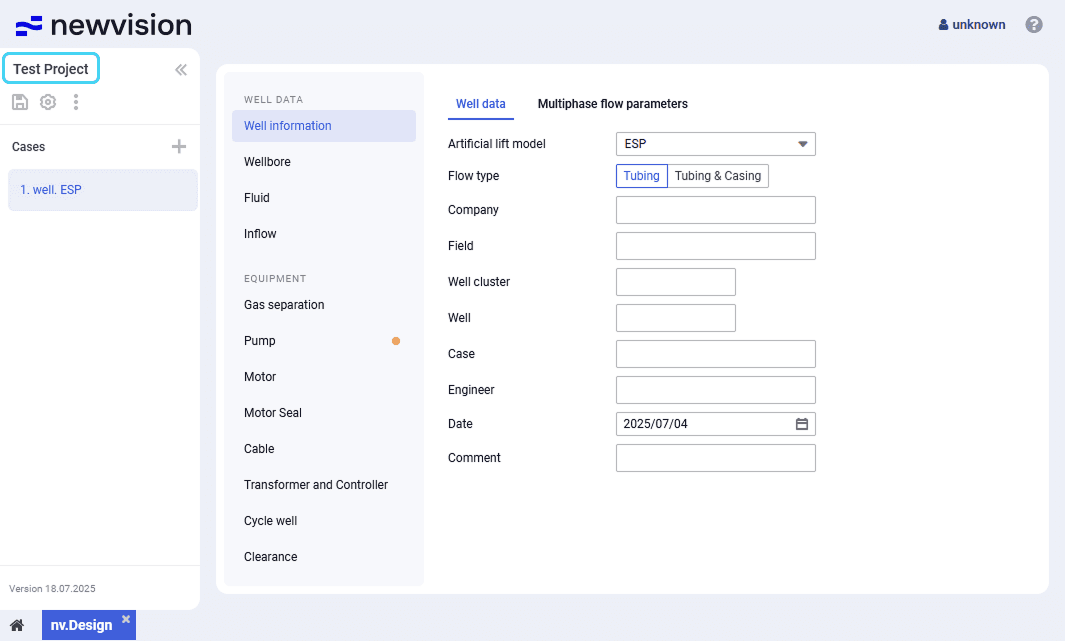
The Projects window opens.

In the Projects window, under the All Projects heading, click Add (
).The New project window opens.
In the New project window, perform the following actions:
a. In the Name field, enter the new project name.
b. (Optional) In the Description field, enter a description for the new project.
c. From the Units of measurement list, select the desired measurement system: Field units (US oilfield units) or SI units (metric units).
Note
You can also create a custom set of measurement units. To do this, in the area below the list, click create it now. You can do this after the project is created as well. For details, see Configuring Custom Set of Units.d. In the lower part of the window, click ok.
3.3 Importing Projects
In the nv.design module, you can import an existing project in the JSON format in several ways, depending on your current stage in the module workflow:
3.3.1 Importing New Project Upon Opening nv.design
To import a project upon opening the nv.design module, perform the following actions:
- Open the nv.design module.
For details on navigation in the system, see System Interface. Depending on whether there are any projects in the system, perform one of the following actions:
If there are no projects, in the Project Creation window, click Upload (
 ).
).If there already are some projects, in the upper-right corner of the Projects window,
click Upload ().Important
This method is relevant only if you open the module for the first time or after clearing the browser cache. Otherwise, when you open the module, the last project you worked on will open automatically. In this case, see Importing New Project While Working on an Existing Project.In the file explorer window, select the JSON file with the project you want to import.
The New project window opens.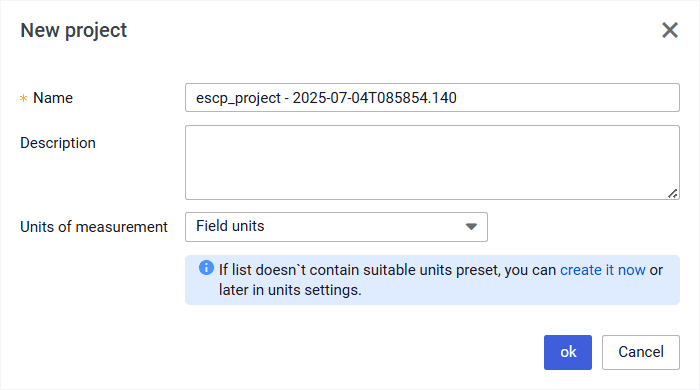
In the New project window, perform the following actions:
a. (Optional) In the Name and Description fields, edit the project name and description.
b. From the Units of measurement list, select the desired measurement system: Field units (US oilfield units) or SI units (metric units).
Note
You can also create a custom set of measurement units. To do this, in the area below the list, click create it now. You can do this after the project is created as well. For details, see Configuring Custom Set of Units.c. In the lower part of the window, click ok.
3.3.2 Importing New Project While Working on an Existing Project
To import a project while working on an existing nv.design project, perform the following actions:
In the upper-left corner of the module, click the name of the currently open project.
The Projects window opens.
- In the Projects window, to the right of the Add () button, click Upload ().
In the file explorer window, select the JSON file with the project you want to import.
The New project window opens.In the New project window, perform the following actions:
a. (Optional) In the Name and Description fields, edit the project name and description.
b. From the Units of measurement list, select the desired measurement system: Field units (US oilfield units) or SI units (metric units).
Note
You can also create a custom set of measurement units. To do this, in the area below the list, click create it now. You can do this after the project is created as well. For details, see Configuring Custom Set of Units.c. In the lower part of the window, click ok.
3.4 Opening Projects
In the nv.design module, you can open an existing project from the project catalog in several ways, depending on your current stage in the module workflow:
3.4.1 Opening Existing Project Upon Opening nv.design
| Important This method is relevant only when you open the module for the first time or after clearing the browser cache. Otherwise, when you open the module, the last project you worked on will open automatically. In this case, see Opening Existing Project While Working on Another Project. |
To open a project upon opening the nv.design module, perform the following actions:
- Open the nv.design module.
For details on navigation in the system, see System Interface. In the Projects window that appears, click the name of the desired project.
3.4.2 Opening Existing Project While Working on Another Project
To open a project while working on another nv.design project, perform the following actions:
In the upper-left corner of the module, click the name of the currently open project.
The Projects window opens. For details, see Project Catalog.
In the Projects window, under the All Projects heading, click the name of the desired project.
Note
You can also search for projects using the search field under the All Projects heading.
3.5 Adding Cases
After a project is created, imported, or opened, you can create well design cases (versions) within it.
By default, all new projects contain a default case pre-filled with well, fluid and reservoir data. You can modify it to match your conditions and select the appropriate equipment.
You can add more cases by creating them, copying existing ones, or importing from JSON files stored locally.
3.5.1 Creating New Cases
To create a new case from scratch, perform the following actions:
- Open the nv.design module.
For details on navigation in the system, see System Interface. In the pane located in the left part of the module, in the Cases area, click Add (
) , and then select Create new ( ) from the drop-down menu.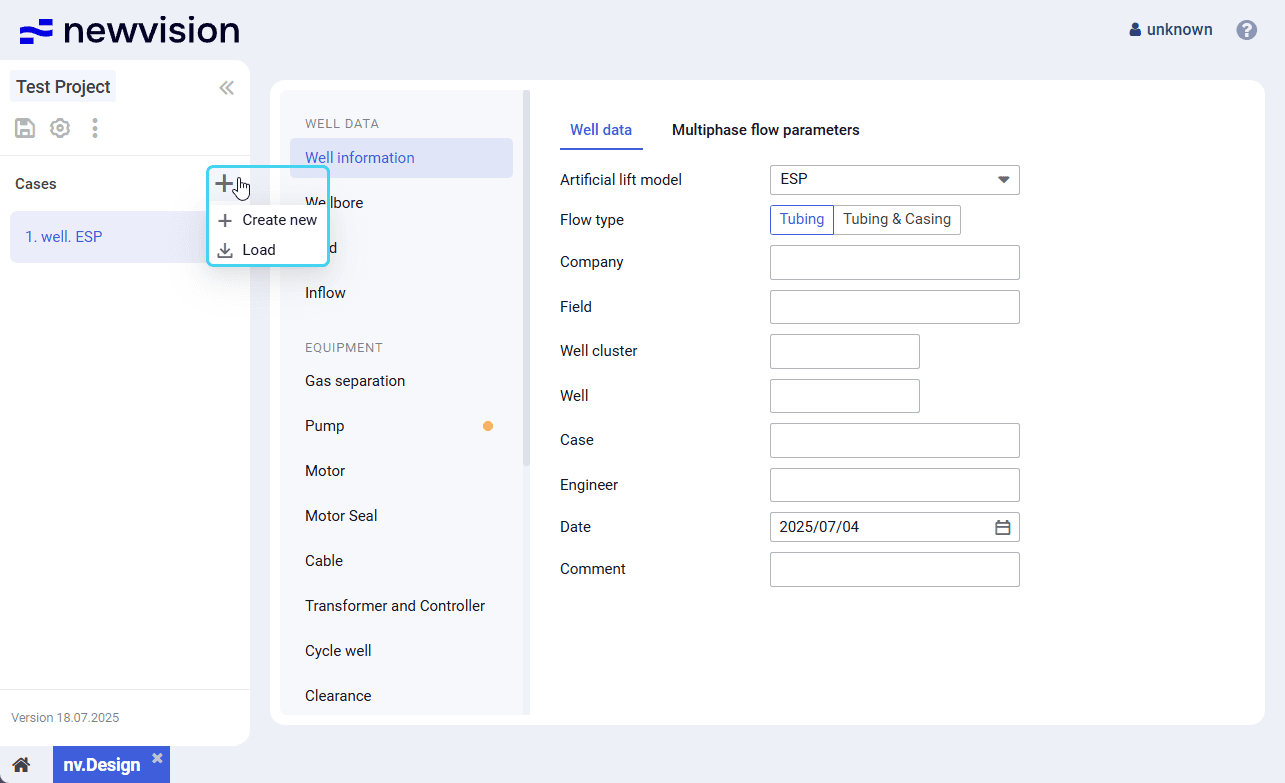
- In the window that appears, enter a name for the new case.
- Proceed to configuring the well design parameters in the module sections. For details, see Well Design Parameters.
- After the configuration is completed, in the left part of the module, click Save (
 ) under the name of the current project.
3.5.2 Copying Existing Cases
To create a new case by copying an existing one, perform the following actions:
- Open the nv.design module.
For details on navigation in the system, see System Interface. In the pane located in the left part of the module, in the Cases area, hover over the name of the case that you want to copy, and then, in the right part of the row,
click the three dots icon ( ) and select Duplicate (
  ) from the drop-down menu.
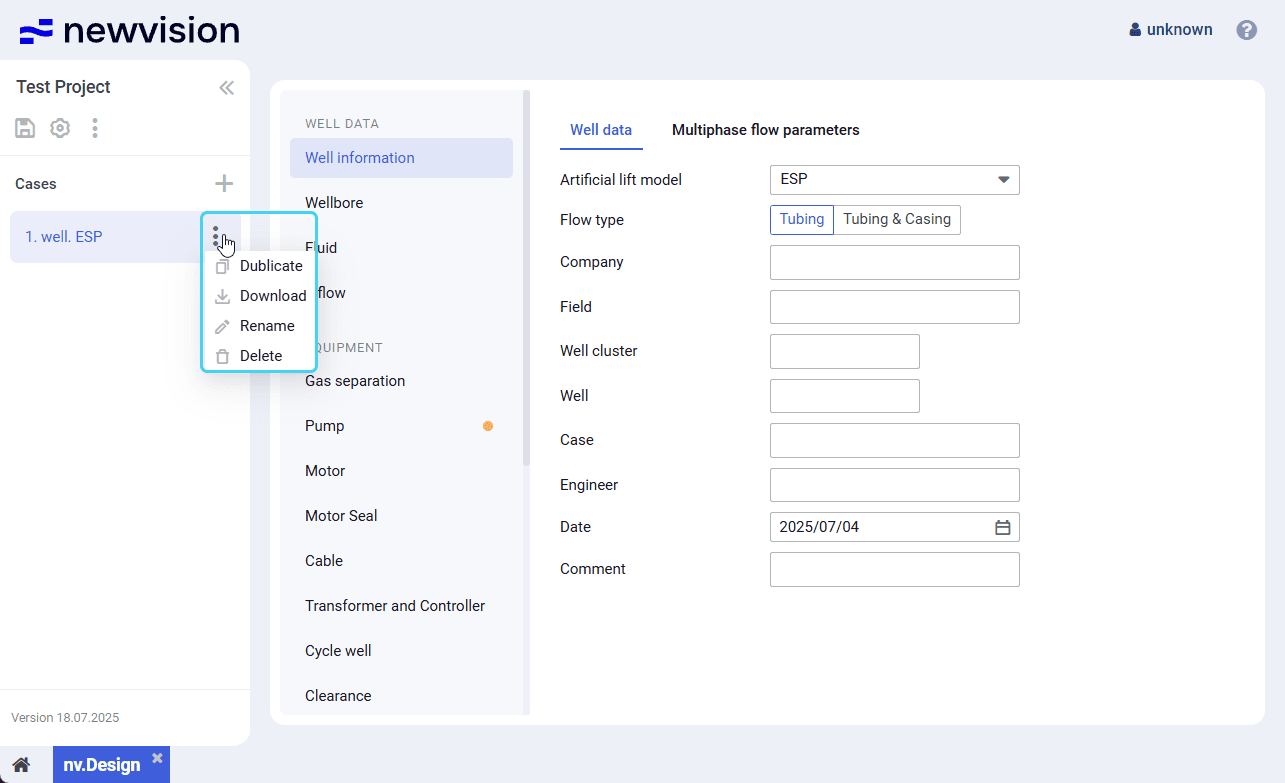
A copy of the selected case appears in the list.
( Optional) To rename the copied case, perform the following actions:
a. Hover over the created case and click the three dots icon (
;) .b. From the drop-down menu, select Rename (
 ) .
) .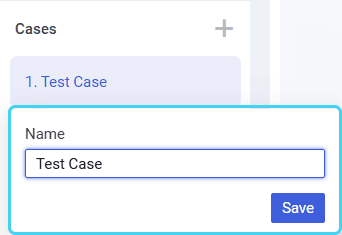
In the window that appears, enter a new name for the case and click Save .
Note
Alternatively, you can change the case name in the Well information section, on the Well data tab. For details, see Well Data.- Proceed to configuring the well design parameters in the module sections. For details, see Well Design Parameters.
- After the configuration is completed, in the left part of the module, click Save ( ) under the name of the current project.
3.5.3 Importing Cases
To import a case from a file in the JSON format stored locally, perform the following actions:
- Open the nv.design module.
For details on navigation in the system, see System Interface. In the pane located in the left part of the module, in the Cases area, click Add (
) , and then select Load ( ) from the drop-down menu.- In the file explorer window, select the JSON file with the project you want to import.
The imported case appears in the list. ( Optional) To rename the copied case, perform the following actions:
a. Hover over the created case and click the three dots icon (
) .b. From the drop-down menu, select Rename (
) .c. In the window that appears, enter a new name for the case and click Save .
Note
Alternatively, you can change the case name in the Well information section, on the Well data tab. For details, see Well Data.- Proceed to configuring the well design parameters in the module sections. For details, see Well Design Parameters.
After the configuration is completed, in the left part of the module, click Save (
) under the name of the current project.
User guide
Software for Well and Downhole Equipment Modeling